Table of Contents
SOP for Data Entry in Oracle Clinical
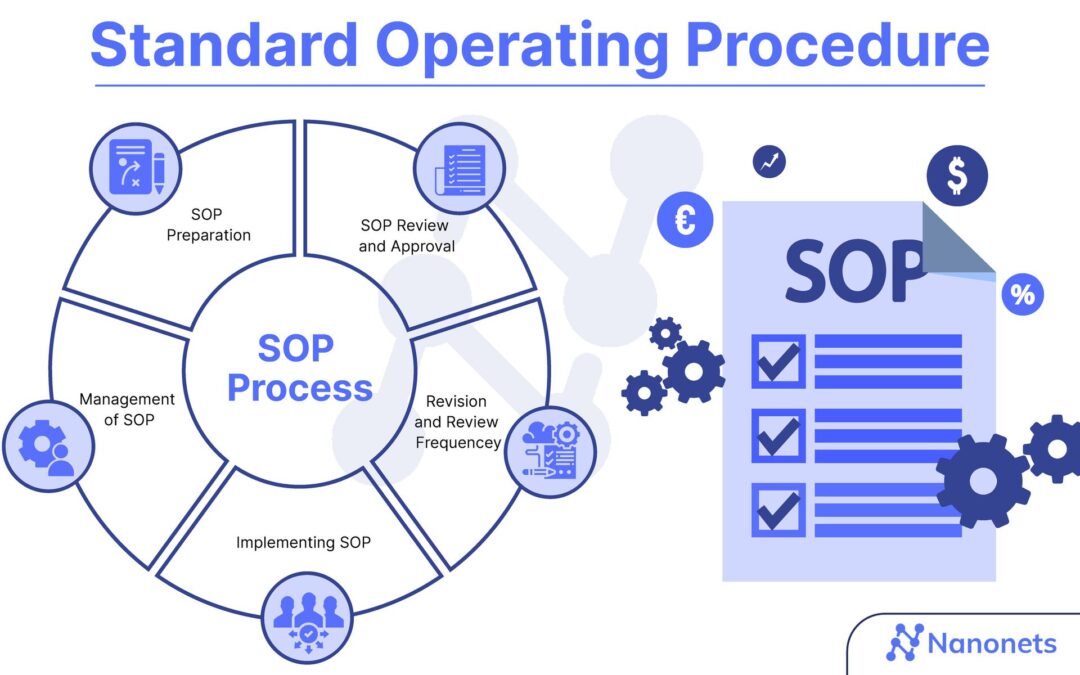
A SOP (Standard Operating Procedure) in clinical trials is a documented set of procedures and instructions that describes how specific tasks or activities are to be carried out in a clinical trial. It provides a standardized, step-by-step guide for carrying out the various activities that make up a clinical trial.
SOPs are an essential part of clinical trials because they ensure consistency, accuracy, and compliance with regulatory guidelines and industry standards. They help to ensure that all personnel involved in the trial are following the same procedures, using the same terminology, and adhering to the same standards.
SOPs are typically developed by the sponsor, contract research organization (CRO), or clinical research site and cover a wide range of activities, including study start-up, study conduct, data management, quality control, and study closeout. They are based on regulatory guidelines and industry standards, and they are often reviewed and updated as needed throughout the course of the trial to reflect changes in regulations, procedures, or technology.
In summary, SOP for data entry in Oracle Clinical are a vital component of clinical trials that ensure consistency, accuracy, and compliance with regulatory guidelines and industry standards. They provide a roadmap for trial activities and help to ensure that the trial is conducted in a consistent and efficient manner.
Here’s an SOP for data entry in Oracle Clinical:
- Verify Access: Ensure that you have been granted access to the Oracle Clinical application and have the necessary permissions to perform data entry tasks.
- Review the Protocol: Review the protocol document and familiarize yourself with the study design, inclusion and exclusion criteria, and all data collection forms (CRFs).
- Verify CRF Version: Verify that the CRF version you are using is the correct version for the study and that you have the latest version.
- Verify Data Entry Guidelines: Ensure that you have the latest data entry guidelines that describe the data entry procedures, data validation checks, and edit checks.
- Review Data Entry Requirements: Review the data entry requirements and confirm that you understand how to enter data, including date formats, codes, and abbreviations.
- Log in to Oracle Clinical: Log in to the Oracle Clinical application using your assigned credentials.
- Navigate to Data Entry: Once logged in, navigate to the data entry module of the application.
- Select the Correct Study: Select the study for which you will be entering data, ensuring that the study is open and active.
- Select the Correct Site and Patient: Select the appropriate site and patient for which you will be entering data.
- Open the CRF: Open the appropriate CRF based on the patient visit.
- Verify Data Fields: Verify that all the data fields in the CRF are present and labeled correctly.
- Enter Data: Enter data into the CRF for each data field, following the data entry guidelines and data entry requirements.
- Save Data: Save the data as you enter it and ensure that it is saved correctly.
- Review Data: Review the entered data to ensure accuracy, completeness, and consistency with the protocol and data entry guidelines.
- Complete Data Entry: Once data entry is complete for the CRF, close the CRF and save any changes.
- Repeat Steps 10-15: Repeat steps 10-15 for each patient visit and CRF until all data has been entered for the study.
- Verify Completion: Verify that all data has been entered for the study and that all CRFs have been closed and saved.
- Log Out: Log out of the Oracle Clinical application and ensure that all data has been saved and backed up.
Note: It is essential to maintain a data entry log to track the date of data entry, the data entered, and any issues that arise during data entry. This log should be updated regularly and kept up to date.
You may be interested in…